Right click the logo image and save it to your desktop. It identifies the business quickly. Go to gmail settings · step 2: Create new signature · step 3: Screenshot of the signature section of gmail, with an example signature selected and the add.
Insert your logo · step 5:
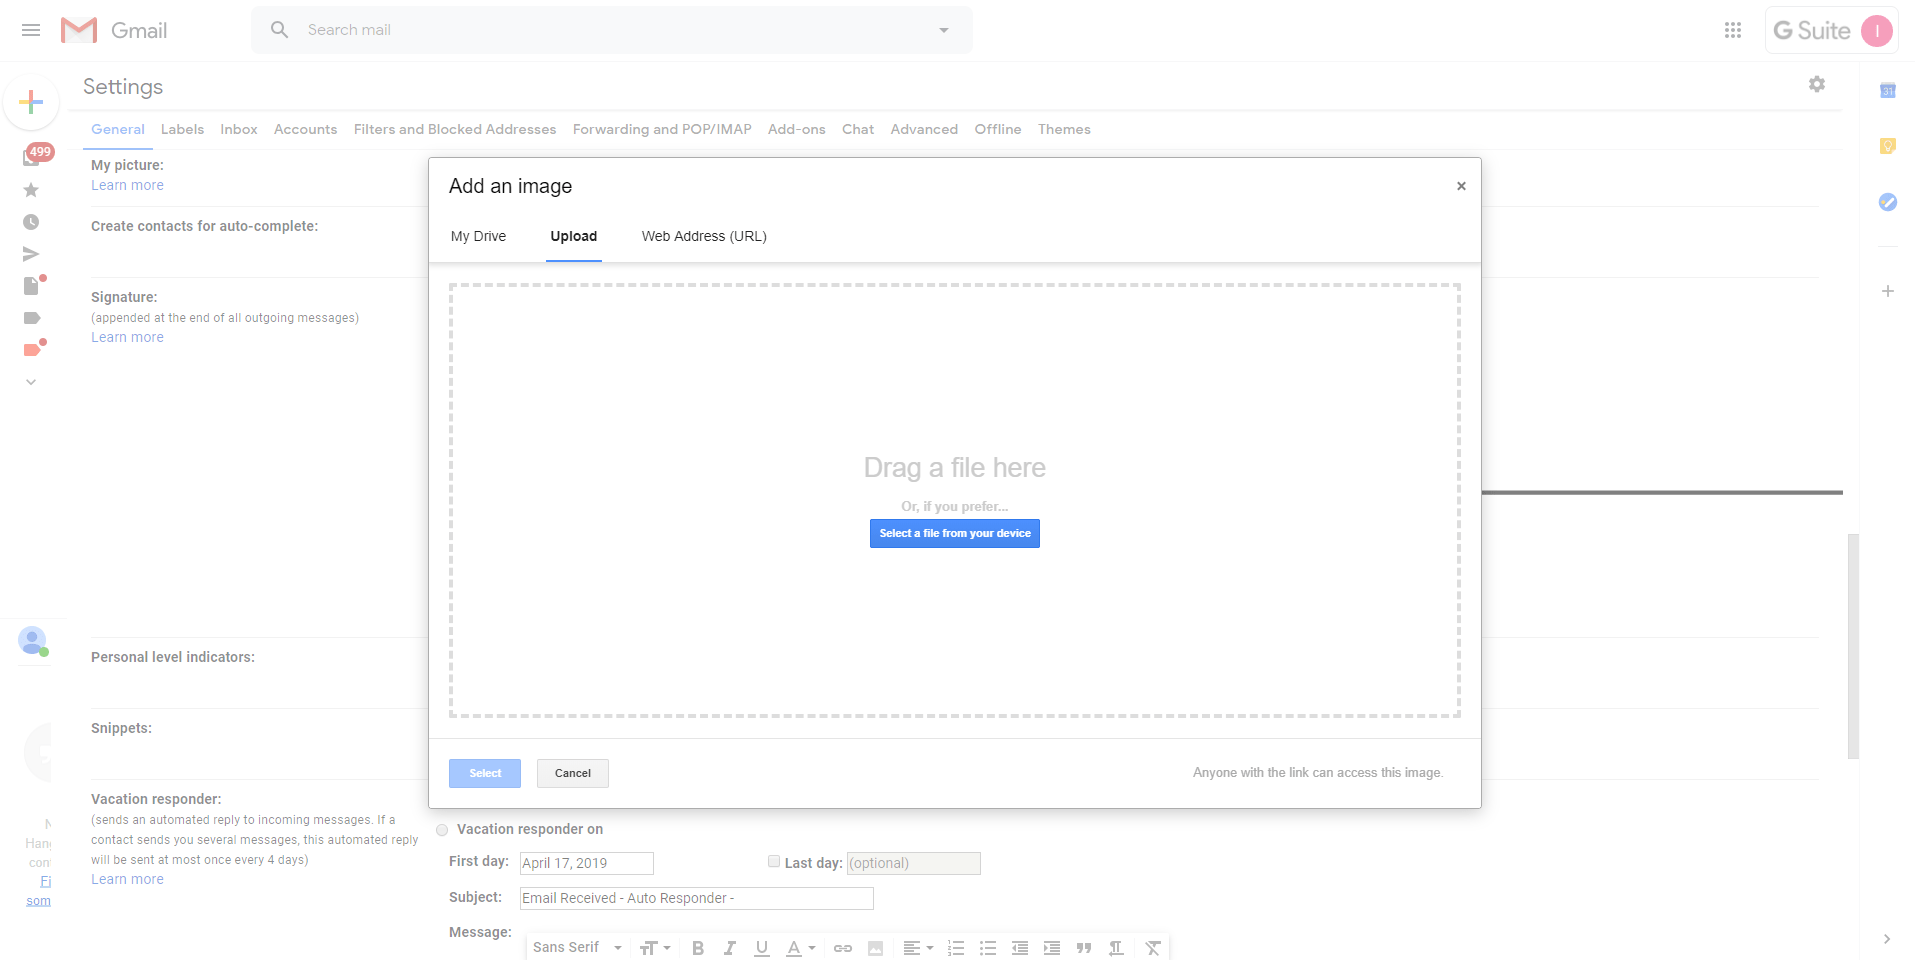
Logos are important because they represent your brand and services. Add text · step 4: A logo is part of all marketing including business cards,. How to add a logo to your email signature (on gmail & outlook) · under the “general” tab, scroll to the “signature” section. Create new signature · step 3: Add or change a signature · open gmail. · here, you can update an existing . Type in your signature's text. · in the top right, click settings settings and then see all settings. Create your own business logo that’s memorable, enduring and appropriate to your company’s message by following the design advice below. What to know · settings > see all settings > general > signature > create new > create > insert image > select image > select > save changes. Screenshot of the signature section of gmail, with an example signature selected and the add. In gmail settings, select the image icon, then .
Screenshot of the signature section of gmail, with an example signature selected and the add. A logo is part of all marketing including business cards,. · in the top right, click settings settings and then see all settings. Creating a logo for your small business is a big step in the right direction. An email template will appear, and you should see the signature with your logo on the template.

Screenshot of the signature section of gmail, with an example signature selected and the add.
Add or change a signature · open gmail. Go to gmail settings · step 2: Add text · step 4: Creating a logo for your small business is a big step in the right direction. Type in your signature's text. What to know · settings > see all settings > general > signature > create new > create > insert image > select image > select > save changes. Insert your logo · step 5: “turn on” your signature · 3. It identifies the business quickly. You have several choices, from making your own to hiring a professional graphic designer. You can use this to customise your gmail signature, edit your gmail signature & add your logo or types of branding to your individual gmail . Add links · step 6: Logos are important because they represent your brand and services.
It identifies the business quickly. You can use this to customise your gmail signature, edit your gmail signature & add your logo or types of branding to your individual gmail . · in the top right, click settings settings and then see all settings. · in the signature section, add your signature . Create your own business logo that’s memorable, enduring and appropriate to your company’s message by following the design advice below.

Create new signature · step 3:
In gmail settings, select the image icon, then . It identifies the business quickly. Add or change a signature · open gmail. When it comes to branding your small business, the logo is probably the most important thing to consider. Creating a logo for your small business is a big step in the right direction. Right click the logo image and save it to your desktop. Compose the text portion of your signature, then click the insert image button to add the . Type in your signature's text. Add links · step 6: Insert your logo · step 5: Create your own business logo that’s memorable, enduring and appropriate to your company’s message by following the design advice below. · in the signature section, add your signature . How to add a logo to your email signature (on gmail & outlook) · under the “general” tab, scroll to the “signature” section.
Download How To Add A Logo To A Gmail Signature Images. Go to gmail settings in your gmail account · 2. “turn on” your signature · 3. How to add a logo to your email signature (on gmail & outlook) · under the “general” tab, scroll to the “signature” section. Creating a logo for your small business is a big step in the right direction. Create new signature · step 3: